Broiling is fast, direct, and leaves little room for error. A missing broiler pan feels like a bigger problem than it is, because what you really need is simple: food held above drips so heat hits the surface instead of pooling fat.
The good news is that a solid broiler pan substitute is probably already in your cabinet. The options below are ranked by how well they handle three things: fat drainage, surface browning, and post-broil cleanup.
Pick the one that matches what you're cooking tonight.
A wire rack set over a foil-lined rimmed baking sheet is the best broiler pan substitute. It delivers the same drainage and airflow as a dedicated broiler pan. A cast iron skillet gives strong browning with less drainage, and a foil cradle on a sheet pan works for emergency cleanup situations.
5 Best Broiler Pan Substitutes (Ranked by Drainage, Browning, and Cleanup)
The substitutes below are ordered by overall performance. Airflow and grease separation determine the top picks, while ease of cleanup decides the rest.
| # | Substitute | Best For | Ratio | Key Note |
|---|---|---|---|---|
| 1 | Wire Rack + Rimmed Sheet | Both | 1:1 | Top drainage and browning |
| 2 | Cast Iron Skillet | Both | 1:1 | Strong crust, less separation |
| 3 | Foil Cradle on Sheet Pan | Cooking | 1:1 | Emergency option, flip often |
| 4 | Disposable Aluminum Pan | Cooking | 1:1 | Best cleanup, raise food up |
| 5 | Oven-Safe Grill Grates | Both | 1:1 | Max airflow, verify safety |
1. Wire Rack over a Rimmed Baking Sheet
This setup is the closest match to what a broiler pan does. The wire rack holds food up so hot air circulates underneath, and drips fall onto the foil-lined sheet below instead of steaming against the food's surface.
For crisp, browned results on chicken thighs or pork chops, this combo performs as well as a dedicated broiler pan.
- Rack position: Place the oven rack 4-6 inches from the broiler element for most proteins.
- Foil lining: Cover the baking sheet with foil before cooking so you can lift it out and toss it after.
- Spacing: Leave space between pieces so steam escapes instead of collecting.
- Flip timing: Flip once, halfway through, for even browning on both sides.
Skip if: your rack has plastic or silicone feet or handles. Those parts melt or release fumes under broiler heat.
2. Cast Iron Skillet (with a Foil Drip Tray)
Cast iron holds heat more aggressively than thin sheet pans, which means food hits a hotter surface the moment it goes in. That contact heat creates a crust quickly.
If you're thinking about the heavier pan choice versus something lighter, cast iron wins for broiling because it stays stable at high heat and doesn't warp.
Preheat the skillet for 2-5 minutes under the broiler before adding food. That head start speeds up browning and reduces total broil time.
- Drip management: Set a foil-lined sheet pan on the rack below to catch any splatter that escapes the skillet edges.
- Seasoning note: If your skillet has heavy, sticky residue from previous cooks, it will smoke more under high broil heat.
- Size match: Use a skillet where food fits in a single layer without crowding.
Skip if: your skillet's seasoning is tacky or uneven. That residue burns and adds off-flavor to the food.
3. Aluminum Foil Setup on a Rimmed Sheet Pan
This is the emergency option. You fold foil into a raised cradle so food sits slightly above the flat surface and drips have somewhere to collect below.
It's not as effective as a wire rack, but it's a legitimate fix when that's all you have. For lean cuts like properly stored proteins that don't release much fat, it works well enough.
Foil Cradle vs. Wire Rack
Works for: lean proteins, vegetables, quick broil jobs under 8 minutes
Skip if: fatty cuts that release heavy drippings - grease pools and steams the food
- Build the cradle: Fold foil into an accordion or S-curve pattern so the food rests on ridges, not flat metal.
- Double layer: Use two sheets of foil so the bottom doesn't puncture under the weight of the food.
- Rotate halfway: Foil doesn't distribute heat evenly, so rotate the pan 180° at the midpoint.
Skip if: your protein is high-fat, like bone-in chicken thighs. The pooling grease smokes fast and the food ends up partially steaming.
4. Aluminum Disposable Roasting Pan (Raised with a Foil Sling)
Disposable aluminum pans are the lowest-scrub option here. You broil, you toss the pan.
The issue is that food sitting flat in the pan bottom has no drainage and browns unevenly. Fix this by making small foil balls or a twisted foil sling to raise the food 1-2 inches above the base.
This trick also works if you're comparing the pan depth tradeoff between a roasting pan and a true broiler setup.
- Foil sling: Roll two strips of foil into thick ropes and lay them parallel across the pan bottom, then rest your food on top.
- Heat safety: Verify the pan is labeled broiler-safe or oven-safe to 500°F before using it under direct broiler heat.
- Monitor closely: Disposable pans are thin. Browning moves faster here, so check every 2 minutes.
- No overcrowding: Keep food in a single layer so heat reaches all surfaces evenly.
Skip if: the pan has thin spots, dents, or you can't confirm it's rated for broiler temperatures.
5. Oven-Safe Grill Grates over a Baking Sheet
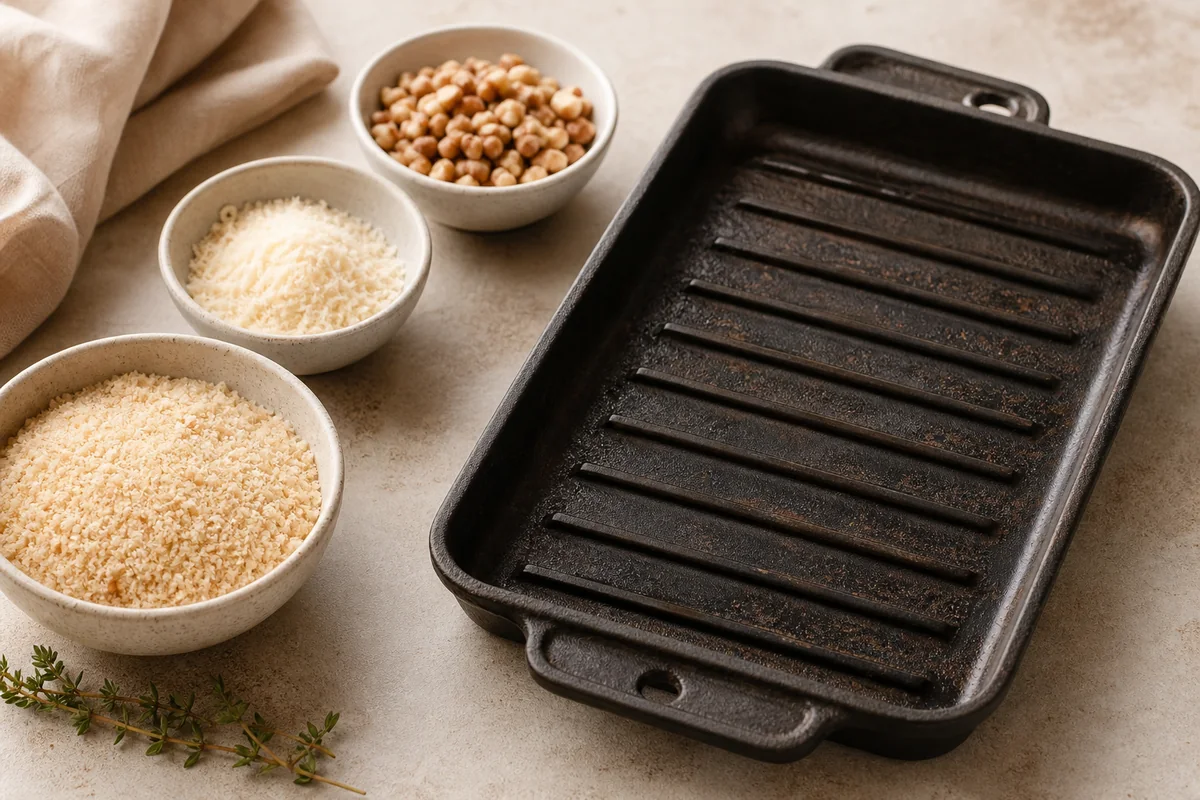
If you own a grill pan or removable oven-safe grates, they work surprisingly well under the broiler. The spacing in the grates is wider than a wire rack, so airflow is excellent and browning is aggressive.
Check the flat surface alternatives if you want more contact cooking versus open-grate options.
- Foil barrier: Line the baking sheet below with heavy-duty foil to catch drips before they hit the oven floor.
- Rack distance: Set the grates so the food surface is 3-5 inches from the broiler element, not touching it.
- Preheat option: Preheat the grates for 3 minutes to speed up crust formation on the food's underside.
- Cleanup: Soak grates in hot soapy water immediately after broiling so residue doesn't harden.
Skip if: your grates have any coating, paint, or parts that aren't explicitly oven-rated.
Making a Broiler Pan Substitute Work
Whatever substitute you choose, the core method is the same: create separation between the food and the drips, allow heat to move around the food, and watch the clock closely. Broilers vary a lot by model and age.
Some run extremely hot within the first 90 seconds. Start checking your food 1-2 minutes before you expect it to be done and adjust from there.
- Always use a drip barrier: Line anything below your food with foil. Burning grease causes smoke, and smoke sets off alarms fast.
- Preheat the surface: For cast iron or grates, 2-5 minutes of preheat before the food goes in makes a real difference in crust quality.
- Flip once: Most broiled foods benefit from one flip at the halfway point, especially when using flat or foil setups with less airflow underneath.
Frequently Asked Questions
Yes, but food will sit in its own drips and brown unevenly. Build a foil cradle to raise the food slightly, and flip halfway through for better results.
A wire rack over a foil-lined rimmed sheet pan is best. It drains fat away from the meat so the skin crisps instead of steaming in pooled grease.
Most do, but check that the pan is rated oven-safe to at least 450°F. Thin or dented pans can warp or fail under direct broiler heat.
Line your drip tray with heavy-duty foil and replace it if grease accumulates heavily. Keeping the fat away from the broiler element is what controls smoke.
Yes, flip once halfway through. Foil and cast iron don't allow heat underneath, so the bottom side needs direct contact time to brown properly.
5 Best Broiler Pan Substitutes (Ranked)
Ingredients
Equipment
Method
- Match the substitute to your goal: maximum browning (use a rack) or minimal cleanup (use foil/disposable).
- Create drainage: if using a rack/grates, set them over a rimmed, foil-lined sheet to catch drips.
- Preheat if your food needs fast browning: preheat the pan/skillet for 2–5 minutes (carefully) before broiling.
- Broil with vigilance: start 1–2 minutes early, rotate halfway (or flip if needed), and stop once the surface is browned.
- Control smoke: keep a foil barrier on the drip side, avoid pooling grease, and let the broil chamber cool before handling.
Notes
- If your broiler produces heavy smoke, lower the rack position slightly and use a thicker foil catch layer on the drip side.
- For fattier meats, prioritize a rack/grates setup to prevent steaming and burned drips.
Tried this recipe?
Let us know how it was!
Carrie is a food writer and editor with more than 15 years of experience. She has worked for some of the biggest names in the food industry, including Bon Appétit, Food & Wine, and Martha Stewart Living.
As the Editor in Chief of EpicureDelight, Carrie oversees all of the content on the site. She also manages the team of contributing writers and editors, who help to create delicious recipes, helpful tips, and informative articles that you’ll find on the site.
A native of the Chicago area, Carrie is passionate about all things food. She loves trying new restaurants and experimenting with new recipes in her kitchen. She’s also a graduate of the Culinary Institute of America, so she knows a thing or two about food!