No muffin pan in the drawer doesn't mean no muffins on the counter. The real question is whether your substitute holds batter the same way, behaves the same under heat, and lets the muffin release without tearing.
Match those three things and your muffin pan substitute will do the job cleanly.
Material matters more than most bakers expect. Silicone browns differently than metal.
Ceramic holds heat longer than foil. A wider base spreads batter and kills the dome you want.
Know what you're working with before you preheat.
Skip relying on exact bake times. Instead, press the top lightly at around the original finish time.
If it springs back and a toothpick comes out with moist crumbs, you're done. That test works across every substitute below.
The best muffin pan substitutes are ramekins and silicone molds for individual-cup bakes. Mini loaf pans, foil cups on a sheet pan, and small tart pans also work. Fill each to about ⅔ full, grease or line well, and start checking doneness 3-5 minutes early.
5 Best Muffin Pan Substitutes Ranked by Cavity Match
Before picking a substitute, look at the shape first. Individual cavities beat wide flat pans because they give batter walls to climb.
Use the table below to match your swap, adjust fill, and know when to start checking.
| # | Substitute | Best For | Ratio | Key Note |
|---|---|---|---|---|
| 1 | Ramekins or custard cups | Both | 1:1 | Grease well; check at standard time |
| 2 | Silicone muffin molds | Both | 1:1 | Check 3-5 min early; use sheet pan |
| 3 | Mini loaf pan | Baking | ¾:1 | Rotate halfway; longer center bake |
| 4 | Foil or paper cups on sheet pan | Both | 1:1 | Thick liners only; grid placement |
| 5 | Small tart pans | Baking | ¾:1 | Underfill; wider base spreads batter |
1. Ramekins or Custard Cups
Ramekins are the closest thing to a real muffin cup you can grab without buying new equipment. They hold individual portions, have straight or slightly tapered sides, and respond to oven heat in a predictable way.
Greasing the inside well is the only real prep step.
- Fill level: Stop at about ⅔ full; short-sided ramekins may need even less to avoid overflow
- Lining option: A small square of parchment pressed into the bottom helps release without tearing
- Bake placement: Set ramekins directly on the oven rack or a sheet pan so heat distributes evenly underneath
- Doneness check: Press the center lightly; springy top plus clean-ish toothpick means done
If your ramekins are 6 oz or smaller, they're nearly a perfect match for standard muffin cups. For a broader look at single-cup swap options, that comparison covers more scenarios when ramekins themselves aren't available.
Skip if: Your ramekins are much wider than 3 inches across. Batter spreads fast at the edges and the center won't keep up.
2. Silicone Muffin Molds
Silicone molds release muffins so easily you barely need to grease them. That's the big upside.
The tradeoff is that silicone transmits heat differently than metal and tends to brown the exterior faster in some ovens, especially at the sides.
- Sheet pan support: Always place the mold on a rigid baking sheet before filling; silicone slumps without support
- Fill amount: ⅔ full works well; don't exceed that or batter can spill when you move the flexible mold
- Time check: Start checking 3-5 minutes before the recipe's stated finish time
- Release tip: Let muffins cool 5 minutes in the mold, then peel the silicone back rather than lifting
Skip if: You don't have a sheet pan to set underneath it. An unsupported silicone mold will slump and distort your muffin shapes before they even set.
3. Mini Loaf Pan
A mini loaf pan bakes muffin batter more like a small quick bread than a true individual muffin. That's fine for flavor.
The difference shows up in texture at the center, which takes longer to set because the batter mass is thicker.
- Fill target: Aim for ⅔ full as a starting point; reduce if the batter rises fast in the first 10 minutes
- Rotate halfway: Thicker metal mini loaf pans can run hotter on one side; rotating at the midpoint evens things out
- Doneness test: Insert a toothpick in the thickest center area, not near the edge where batter sets first
- Texture note: Expect a denser crumb than a standard muffin; the wider batter column doesn't dome the same way
If you're curious how loaf-pan baking compares on crust and crumb, the loaf pan flavor differences breakdown is worth a quick read before you commit to this swap.
Skip if: Your mini loaf cavities are dramatically deeper than a standard muffin well. Longer bake time and a denser center will be hard to avoid.
4. Foil or Paper Cups on a Sheet Pan
Freestanding muffin cups work, but only when they're stable. A lone paper liner filled with batter will lean, spread, and bake unevenly.
The fix is placement: set cups in a tight grid so they brace each other.
Thick Foil Cups in a Grid
Works for: Holding shape when cups are snug against each other, batter fills evenly, and sturdy foil keeps walls upright
Skip if: Cups are spaced apart with gaps between them, causing lean and uneven browning
Thin Paper Liners Alone
Works for: Light batters that don't expand aggressively and when you have no foil available
Skip if: Batter is heavy or wet; thin paper collapses before the batter sets a wall
- Grid setup: Place cups touching in rows of 3 or 4; the contact keeps them upright through the bake
- Liner choice: Thicker foil cups hold shape far better than standard paper; double-cup paper if that's all you have
- Start checking: Begin 3-5 minutes before the original time; thinner walls lose heat faster than metal
Skip if: You only have thin single-layer paper liners and a wet batter. They will spread and the sides won't hold.
5. Small Tart Pans
Small individual tart pans can hold muffin batter, but the wider, shallower base changes the bake. Batter spreads more than it climbs, so you get a flatter top instead of a dome.
Reducing the fill is the main adjustment.
The wider base also means the edges bake faster than the center. Check the toothpick in the thickest middle point, not at the edge where it's always done first.
Greasing the sides well matters here because tart pan ridges can grip batter.
| Cavity Width | Fill Level | Notes |
|---|---|---|
| Under 3 inches | ⅔ full | Close to standard muffin; dome should form |
| 3-4 inches | ½ full | Wider spread; expect flatter top, shorter bake |
| Over 4 inches | Under ½ | Edges brown fast; center may lag behind |
- Grease fully: Coat the ridged sides and base; a light spray works better than butter in tart grooves
- Doneness check: Press the thickest center point; edges will already feel firm before the center is done
For a side-by-side look at how tart pans and pie pans behave under heat, the pie pan versus tart pan breakdown covers the key differences in depth.
Skip if: Your tart pans are deep rather than wide. A tall batter column in a tart pan means the center won't bake through before the edges overbrown.
Making Any Muffin Pan Substitute Work
The core method is the same regardless of which substitute you pick. Match the cavity behavior, set your fill at ⅔, and use sensory doneness cues instead of trusting the clock.
Every material handles heat a little differently, so checking early is always the safer move.
- Fill and grease setup: Grease or line every substitute before adding batter; aim for ⅔ full and adjust down for wider cavities or high-sided pans
- Bake-time check strategy: Set a timer for 3-5 minutes before the recipe's stated time; press the top lightly and use a toothpick in the thickest point as your real signal
- Cooling and release: Cool 5 minutes in the mold before releasing; pulling too early causes collapse, and leaving too long causes steam buildup that softens the bottom
Frequently Asked Questions
Ramekins or custard cups are the closest match. They hold individual portions in a similar cavity size, so bake time stays within 2-3 minutes of the original recipe.
Grease directly for ramekins and tart pans; silicone releases on its own with minimal grease. Use liners for foil or paper cup setups where the cup itself is the mold.
Silicone transmits heat differently than metal and often browns the exterior faster. Start checking 3-5 minutes before the recipe's stated finish time.
Yes. Grease the ramekin well with butter or spray and the muffin will release cleanly. A small parchment square on the bottom gives extra insurance for sticky batters.
Sinking usually means underbaking or overfilling. Keep fill at ⅔ and use the springy-top test rather than relying solely on the timer.
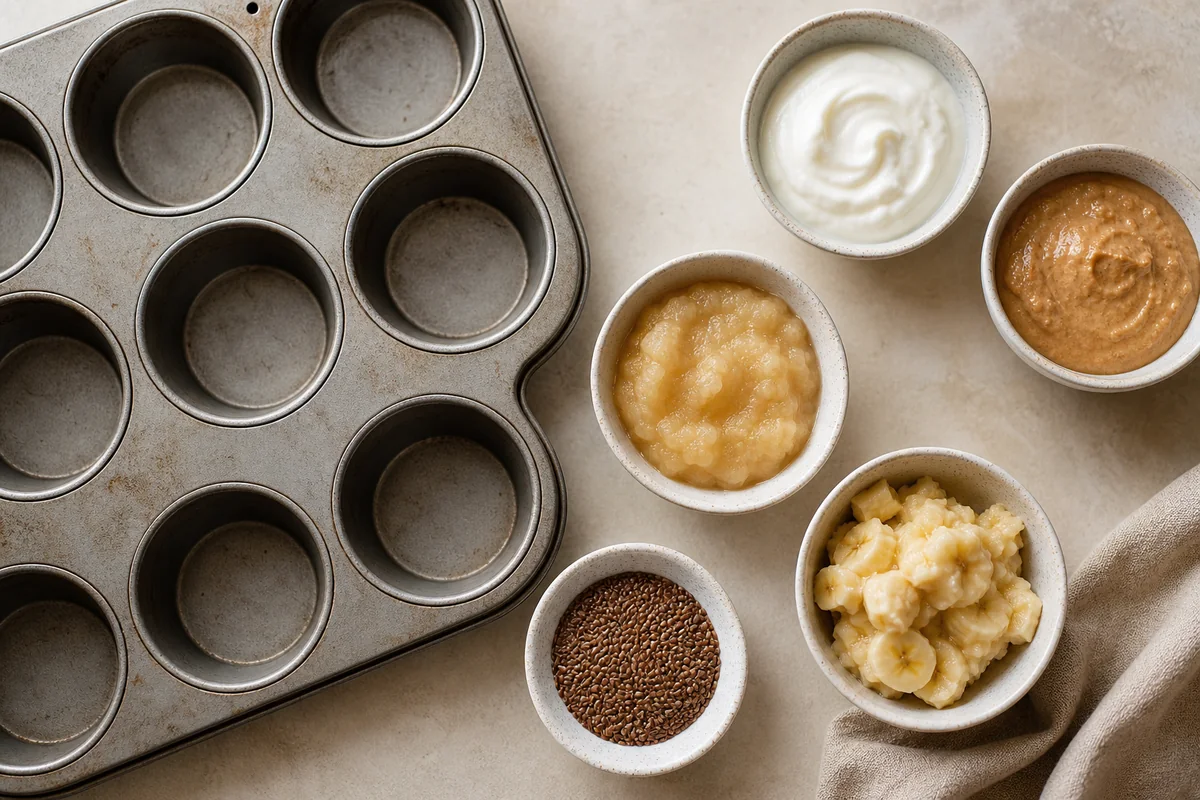
5 Best Muffin Pan Substitutes (Quick Swaps)
Ingredients
Equipment
Method
- Choose the closest “cavity shape” substitute (individual cups are best) and decide how you’ll line/grease it for release.
- Use consistent fill: aim for ⅔ full for most swaps, and slightly underfill (about ½–⅔) for wider or higher-sided pans.
- Bake at the original muffin temperature, but start checking 3–5 minutes early for silicone and for non-metal setups on a sheet pan.
- Cool 5 minutes in the mold, then release and finish cooling on a rack so the bottom doesn’t steam and soften.
Notes
- If your substitute cavity size differs, treat bake time as a range and rely on doneness cues (springy tops + moist crumbs).
- For silicone, reduce risk by checking early; for paper/foil cups on a sheet, stabilize cups so they stay upright.
Tried this recipe?
Let us know how it was!
Carrie is a food writer and editor with more than 15 years of experience. She has worked for some of the biggest names in the food industry, including Bon Appétit, Food & Wine, and Martha Stewart Living.
As the Editor in Chief of EpicureDelight, Carrie oversees all of the content on the site. She also manages the team of contributing writers and editors, who help to create delicious recipes, helpful tips, and informative articles that you’ll find on the site.
A native of the Chicago area, Carrie is passionate about all things food. She loves trying new restaurants and experimenting with new recipes in her kitchen. She’s also a graduate of the Culinary Institute of America, so she knows a thing or two about food!