A perfectly browned roast depends on one thing most cooks forget until the last minute: airflow. Without lift, the bottom of your roast steams in its own drippings and browns unevenly.
That's the job a rack does, and it's a job you can replicate with what's already in your kitchen.
The goal with any roasting rack substitute is three things: lift the roast off the pan floor, keep it stable with no-wobble support, and allow heat to circulate underneath for even browning. A substitute that fails on stability will shift mid-roast, which changes your cooking time and your carving surface.
The options below are chosen because they provide real lift, reduce sticking, and work in a standard oven. Skip any substitute if your roast is delicate or must sit completely flat, like a terrine.
Lift will destabilize it.
The best roasting rack substitutes are dense aluminum foil risers, a wire grill rack over a sheet pan, a broiler pan grate, a thick vegetable bed, or an oven-safe steamer basket. Each one lifts the roast for airflow. Match your choice to roast size and pan depth.
5 Best Roasting Rack Substitutes Ranked by Airflow
Every substitute below is chosen for real lift and stability. The table shows your fastest decision point, and each H3 section walks through exact setup steps.
| # | Substitute | Best For | Stability | Key Note |
|---|---|---|---|---|
| 1 | Dense foil risers | Any roast | High | Press tight, 3-4 risers |
| 2 | Wire grill rack + sheet pan | Poultry, beef | High | Best airflow of all options |
| 3 | Broiler pan grate | Chicken, pork | Medium | Check grate is flat, not warped |
| 4 | Vegetable bed | Poultry, pork | Medium | Adds flavor to drippings |
| 5 | Oven-safe steamer basket | Small roasts | Medium | Confirm dry-heat oven-safe rating |
1. Dense Balled Aluminum Foil Risers
Foil risers are the most reliable improvised lift you can make in under two minutes. You crumple foil into tight, dense balls or short cylinders, and they hold the roast above the pan floor without any extra equipment.
The key is density: loosely crumpled foil compresses under a heavy roast and loses its height.
When using keeping a rack ready isn't an option, foil risers are the fastest fallback. They work for round roasts, whole chickens, and bone-in pork because the shape is adjustable.
- Shape: Press foil into firm balls or cylinders about 2 inches tall. Loose foil won't hold weight.
- Number: Use 3 risers for smaller cuts, 4-5 for anything over 5 lbs, spaced evenly under the roast.
- Gap: Aim for at least 1 inch of clearance between pan floor and roast bottom.
- Moisture: Pat the roast dry before placing it. Wet surfaces on foil contact points will steam instead of sear.
Foil Risers vs. Vegetable Bed
Works for: neutral-flavored roasts where you want pure lift with no flavor transfer to drippings.
Skip if: the roast is small or delicate, foil creates pressure points that cause uneven browning on the contact spots.
2. Wire Grill Rack Over a Sheet Pan
This is the closest match to an actual roasting rack. A wire grill rack placed across a rimmed sheet pan gives you full airflow from all sides, and the sheet pan catches every drip cleanly.
We use this setup regularly for whole chickens and pork tenderloins.
- Fit: The rack must sit flat across the pan with no rocking. Measure your pan before pulling the grill rack out.
- Oven-safe check: Confirm there are no plastic or rubber-coated parts. If it has any coating that isn't bare metal, use a different substitute.
- Preheat timing: Let the rack warm with the oven. A cold rack on a hot roast can slow the bottom browning by several minutes.
- Surface prep: Brush the rack lightly with a high-smoke-point oil to reduce sticking, especially for skin-on poultry.
For context on how baked versus fried chicken compares on browning, the lift difference is the same principle at work here.
Skip if: the rack has any plastic-coated parts or isn't labeled oven-safe at your target temperature. Use foil risers instead.
3. Broiler Pan Grate or Roasting Insert
A broiler pan grate does double duty: it lifts the roast and lets drippings fall into the lower pan below. Most ovens come with one, and it is genuinely designed for dry-heat cooking.
The grate slots, holes, or ribs are already spaced for airflow, so setup is minimal.
Check whether your broiler pan insert is rated for your target temperature. Most are, but some older non-stick-coated versions are not above 450°F.
- Confirm flat surface: A warped grate rocks and will shift the roast. Press down on each corner before placing the meat.
- Center the roast: Position over the holes or slots, not over a solid edge, so drips fall through freely.
- Distance from element: Keep at least 4 inches between the roast top and the broiler element to avoid over-browning the surface.
- Handling: Use tongs to position the roast. Hands on a hot grate lose the airflow gap you've set.
| Roast Size | Pan Position | Notes |
|---|---|---|
| Small cut (under 3 lbs) | Center rack, middle oven | Use grate slots directly under the roast |
| Chicken quarters | Lower-middle rack | Skin side up, holes below skin contact points |
| Large brisket-style cut | Lower rack | Prop ends on grate edges for stability |
If you're deciding between pan types, the pan versus broiler choice covers the tradeoff in full.
Skip if: the grate is visibly warped. Uneven support creates rocking, which leads to uneven cooking and messy transfers.
4. Vegetable Bed Under the Roast
A thick layer of roughly cut vegetables under the roast reduces direct pan contact and adds something no metal rack can: flavor. The aromatics release steam and aroma that work into the drippings, so your pan sauce or gravy gets a head start.
For how rack height affects flavor, the vegetable bed sits at an interesting middle point: it's not pure airflow like a metal rack, but it's not full contact either.
- Cut thickness: Slice onions, carrots, and celery into 1-inch-thick pieces. Thinner cuts collapse early and lose their lift.
- Avoid watery add-ins: Skip tomatoes, zucchini, or mushrooms under the roast. They release too much liquid and steam the bottom.
- Center gap: Leave a small open space in the center of the vegetable layer. It lets heat circulate under the roast's thickest part.
- Rotation: If vegetables on one side start browning too dark before the roast is done, rotate the pan 180°.
Skip if: you need a neutral-flavored dripping or gravy. The vegetables will season whatever falls into the pan, which is great for poultry but may not suit delicate proteins.
5. Oven-Safe Steamer Basket
A collapsible steamer basket is a surprisingly capable rack substitute for smaller roasts. The basket's open wire frame creates airflow channels underneath the meat, and most stainless steel versions handle oven temperatures up to 425°F without issue.
Steamer Basket vs. Foil Risers
Works for: small roasts and chicken pieces where consistent airflow matters more than height.
Skip if: the basket is thin-gauge aluminum or not rated for dry-heat roasting, and never use one with any rubber feet or plastic parts inside the oven.
- Material check: Stainless steel only. If you're unsure about the best alternative pan option, that page covers non-rack alternatives too.
- Line the pan: Place a rimmed sheet pan underneath to catch drips. The basket has no drip channel of its own.
- Center placement: Set the roast directly in the middle of the basket so no edge sits over open air unsupported.
- Weight limit: Skip this for roasts over 6 lbs. Thin wire baskets flex under heavy loads and can collapse inward.
Skip if: the basket is thin-gauge aluminum or not rated for dry roasting at your target temperature.
Making Any Roasting Rack Substitute Work
The method is the same regardless of which substitute you choose: stabilize the lift first, prep surfaces to prevent sticking, then let the oven do the work. A substitute that wobbles, sticks, or blocks heat circulation under the roast will give you the same result as no lift at all.
Test stability before the oven reaches full temperature.
- Airflow check: Verify at least 1 inch of clearance under the roast and that nothing is blocking the sides of the pan. Even a tight-fitting pan reduces circulation.
- Surface prep: Pat the roast completely dry, especially skin. Then lightly oil any metal contact surfaces on your substitute to prevent sticking.
- Doneness and rotation: Start checking internal temperature 15 minutes before your recipe's stated time. If browning is uneven, rotate the pan once at the halfway point.
Skip if: your substitute visibly can't support the roast's weight when loaded cold. Stability under heat is always less than stability at room temperature.
Frequently Asked Questions
Yes, but the bottom will steam in drippings and stay pale instead of browning. Any lift, even foil risers, improves the result significantly.
A wire grill rack on a sheet pan is best. It keeps skin off the pan floor and allows hot air to reach all surfaces evenly.
Pat the roast dry before placing it, and lightly oil any contact surface. Wet meat on foil or vegetables bonds quickly under heat.
Not usually, but start checking internal temperature 10-15 minutes early. Substitutes with less airflow than a true rack may slow bottom browning slightly.
Avoid anything with plastic parts, rubber feet, or an unknown heat rating. Also skip loosely crumpled foil, glass trivets, and any item that rocks under light pressure.
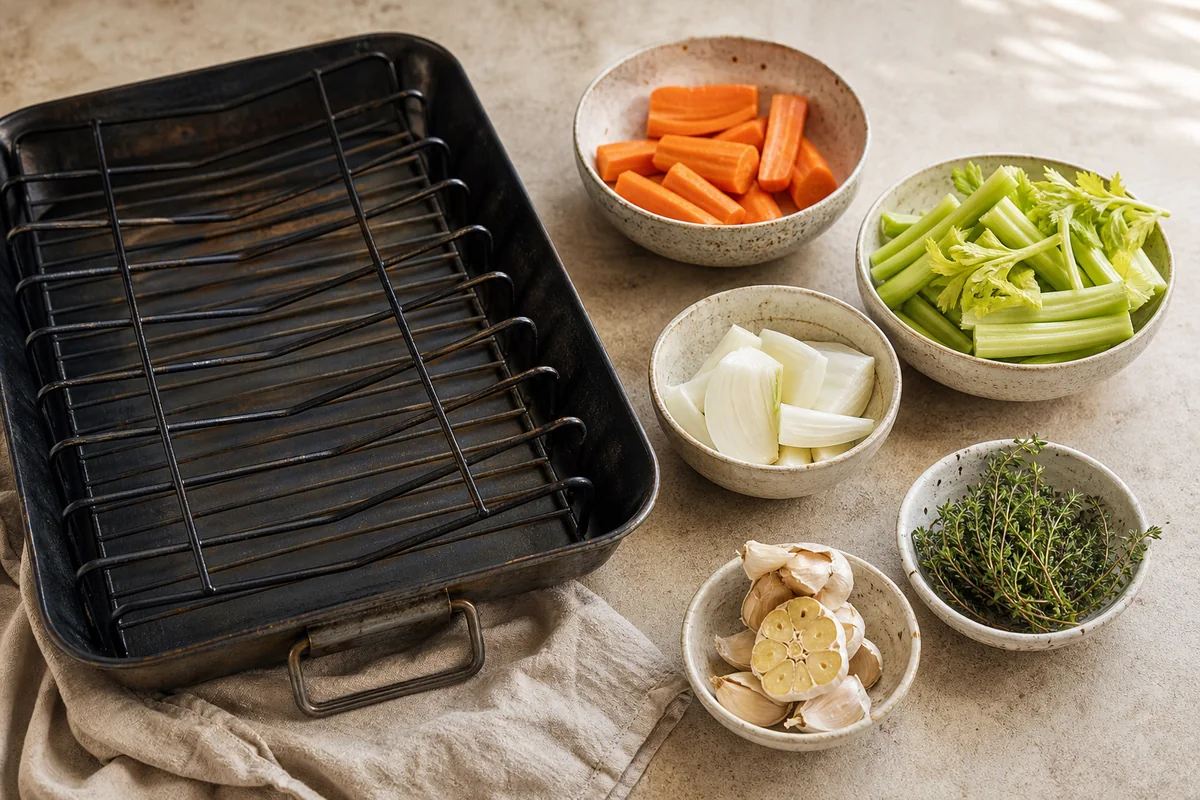
5 Best Roasting Rack Substitutes (Tested)
Ingredients
Equipment
Method
- Match the substitute to your roast: choose dense foil for round/wobbly roasts, or a grill grate for maximum browning.
- Prevent sticking: line the pan base if needed, and pat the roast dry (especially skin) before placing it on the risers.
- Create stable lift: aim for a consistent gap under the roast (enough airflow to brown, not so high the roast shifts).
- Plan drips: use a rimmed sheet pan or keep the grease catcher ready, then roast per your recipe’s doneness targets.
- Rotate/adjust if needed: if browning is uneven, rotate the pan once and check internal temperature early.
Notes
- If your substitute can shift, use wider risers or add an extra support point before the roast goes in the oven.
- For skin-on poultry, prioritize airflow and dry surface prep to avoid pale, steamed skin.
Tried this recipe?
Let us know how it was!
Carrie is a food writer and editor with more than 15 years of experience. She has worked for some of the biggest names in the food industry, including Bon Appétit, Food & Wine, and Martha Stewart Living.
As the Editor in Chief of EpicureDelight, Carrie oversees all of the content on the site. She also manages the team of contributing writers and editors, who help to create delicious recipes, helpful tips, and informative articles that you’ll find on the site.
A native of the Chicago area, Carrie is passionate about all things food. She loves trying new restaurants and experimenting with new recipes in her kitchen. She’s also a graduate of the Culinary Institute of America, so she knows a thing or two about food!